
\
Happy Tuesday Sweet Friends,
How this finds you well and happy.
Been another good day here and
I am well and happy. The last
2 days have been very productive
as well......which is good!
Thought I would share sort of a
tutorial with you today!!
I am well and happy. The last
2 days have been very productive
as well......which is good!
Thought I would share sort of a
tutorial with you today!!
Have you seen the cute Winter pillows
made out of the knitted sweater material
and thought you would like to make or
have one for your Winter decorating, but
didn't have an old sweater or a sweater
you would want to use to make it with,
or maybe couldn't find one anywhere.
Well....I might just have a solution
for you.....
didn't have an old sweater or a sweater
you would want to use to make it with,
or maybe couldn't find one anywhere.
Well....I might just have a solution
for you.....
I had a sweater but I didn't want to
dismantle it, as I might want to wear
it again sometime, so I just decided
to try something and it worked.
Here's what to do....
#1
I laid the sweater face down
on a flat surface then I folded the
arms back as if I was folding a shirt
for display in a store.

#2
Then I rolled the cuffs of the
sweater up, like this.....

#3
Then I started at the bottom of the
sweater and just rolled it up, or
you can start at the neck and roll
it up towards the bottom of
sweater, either way works.

Just make sure the neckline or
bottom of the sweater is not
showing in the front, and that
it looks like a pillow. You
might need to mush it a lil
and pull a bit here and there,
nothing much tho...so now
all I had to do....

was put it on a chair that doesn't
get a lot of use, which means it
want get moved or touched much,
and can just sit and be a cute lil
pillow, and no one is the wiser
that it is a rolled up sweater,
accept YOU, of course!! lol
So Job done!!

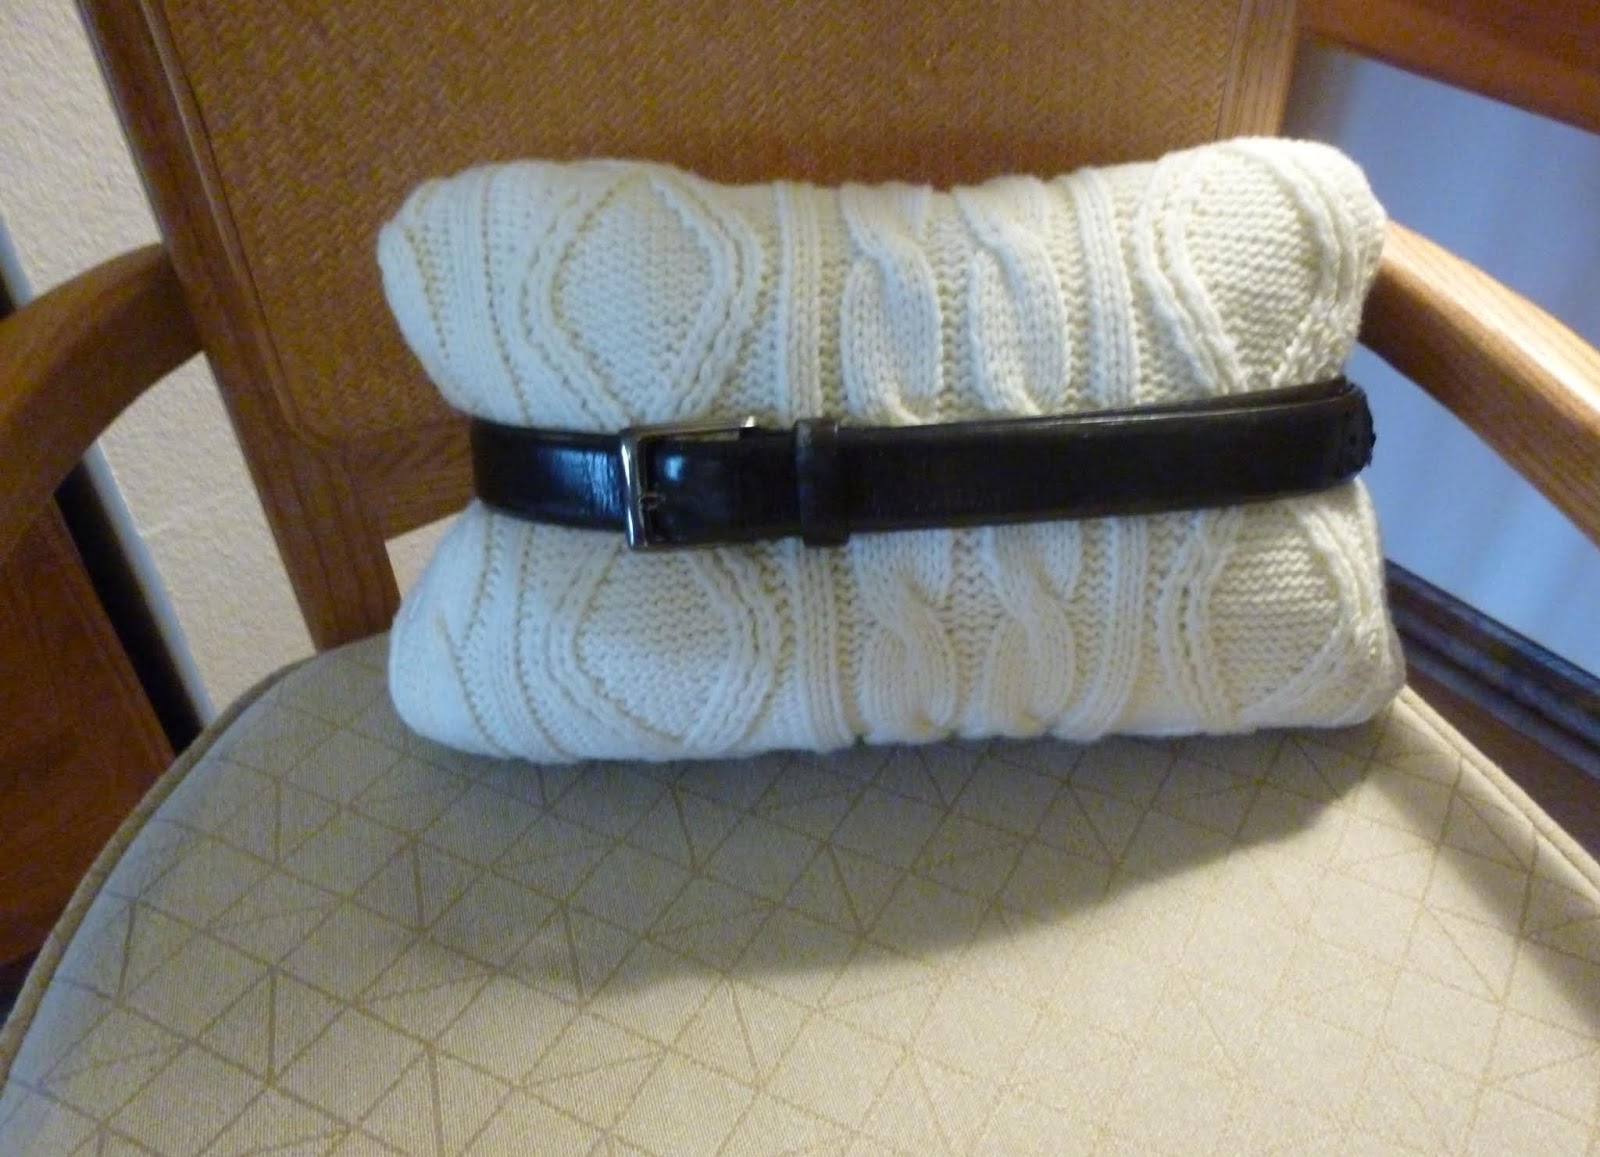
Then some days later I decided it
just needed a lil something....so
I thought a belt might be the thing,
so raided hubbies closet for an
old belt.
#4
I wrapped the belt around the
hangover I would have once it
was buckled. Buckle should be
on the right side but way out
more than I have it here, cause
it has to wrap around to the
front..............

#5
So wrap it around the pillow
and I used an ice pick to make
a new hole in the belt, so that I
could buckle the belt and have
it stay in place around the pillow.
#6
Of Course, the belt was too long
from where it was buckled so
I just took it around the back of
the pillow and paper clipped it
to the belt. Loved the addition
of the belt, gave some contrast
and character and also held
the pillow together in case I
ever need to move it.

Made for a quick, easy, 0 $ cute
Winter pillow, and if I should need
to wear it, no problem.... just take
the belt off, unroll it and put it
on........and away you go!! lol

it face up

they put the prettiest side in front.
but it would still look cute....

Earlier today I wasn't sure if I liked
it paper clipped to the back so
decided to try just looping it
thru the belt in the front, and
liked it better.

and since I unrolled it and redid it to
take pics for the tutorial it wound
up like this now.

Final product!! lol
They say necessity is the
Mother of Invention, this might
not be a necessity, but it was a
fun freebie.............
and I just love the challenge of
doing something crafty and
not even having to leave the
house for supplies....lol
So happy
Love, Hugs, and
End of January Blessings,
Nellie
Sharing with:
The Dedicated House
Stone Gable
A Stroll thru Life
Shabby Art Boutique
Life with Lorelai
Oh My Heartsie Girl
Life and Linda

How fun is this. I love it.
ReplyDeleteThanks Marty....
ReplyDeleteGreat idea, especially for the over sized sweaters we may have! Love you, Susan
ReplyDeleteVery pretty and I love the belt!
ReplyDeleteThanks for coming by Christine and for leaving your kind comments.
ReplyDeleteHope this finds you doing well.
Blessings,
Nellie